Unlocking The Power Of Pi IoT VNC Download For Remote Access
Imagine being able to control your Raspberry Pi from anywhere in the world with just a few clicks. Sounds like magic? Well, it's not – it's the power of Pi IoT VNC download! Whether you're a tech enthusiast, a developer, or someone who just wants to manage their home automation system remotely, this guide will walk you through everything you need to know about setting up and using VNC on your Raspberry Pi IoT setup.
Picture this – you're at work and suddenly remember that you left your smart thermostat at home on manual mode. Instead of panicking, you can simply fire up your VNC client, connect to your Pi IoT device, and adjust the settings in seconds. This is the kind of convenience that Pi IoT VNC download brings to your life. But before we dive into the nitty-gritty, let's take a step back and understand why this technology is so important.
With the rise of the Internet of Things (IoT), devices are becoming smarter and more interconnected than ever. The Raspberry Pi, with its affordability and versatility, has become a favorite among hobbyists and professionals alike. And when you combine it with VNC, you unlock a whole new level of control and flexibility. So, buckle up, because we're about to embark on a journey to master the art of Pi IoT VNC download!
Read also:Winnie Hollman The Queen Of Reality Tv And Her Incredible Journey
What is Pi IoT VNC and Why Should You Care?
Let's break it down. Pi IoT VNC is essentially a remote desktop solution that allows you to access and control your Raspberry Pi from another computer or device. The VNC (Virtual Network Computing) protocol enables you to see and interact with the graphical user interface (GUI) of your Pi as if you were sitting right in front of it. This is particularly useful when your Pi is set up as part of an IoT system, where physical access might not always be possible.
But why should you care? Well, imagine being able to troubleshoot your home security system from your phone while you're on vacation. Or maybe you need to update the software on your weather station without having to physically go to the location. With Pi IoT VNC download, all of this becomes a reality. It's like having a remote control for your digital life.
Key Benefits of Using Pi IoT VNC
Here's a quick rundown of what you stand to gain by incorporating VNC into your Raspberry Pi IoT setup:
- Remote access to your Pi's desktop environment from anywhere in the world
- Real-time monitoring and control of IoT devices connected to your Pi
- Enhanced security through encrypted connections
- Easy troubleshooting and maintenance without needing physical access
- Cost-effective solution for managing multiple IoT setups
Setting Up Pi IoT VNC: A Step-by-Step Guide
Now that you know why Pi IoT VNC is such a game-changer, let's dive into the setup process. Don't worry – it's not as complicated as it sounds. In fact, with this step-by-step guide, you'll have your VNC server up and running in no time.
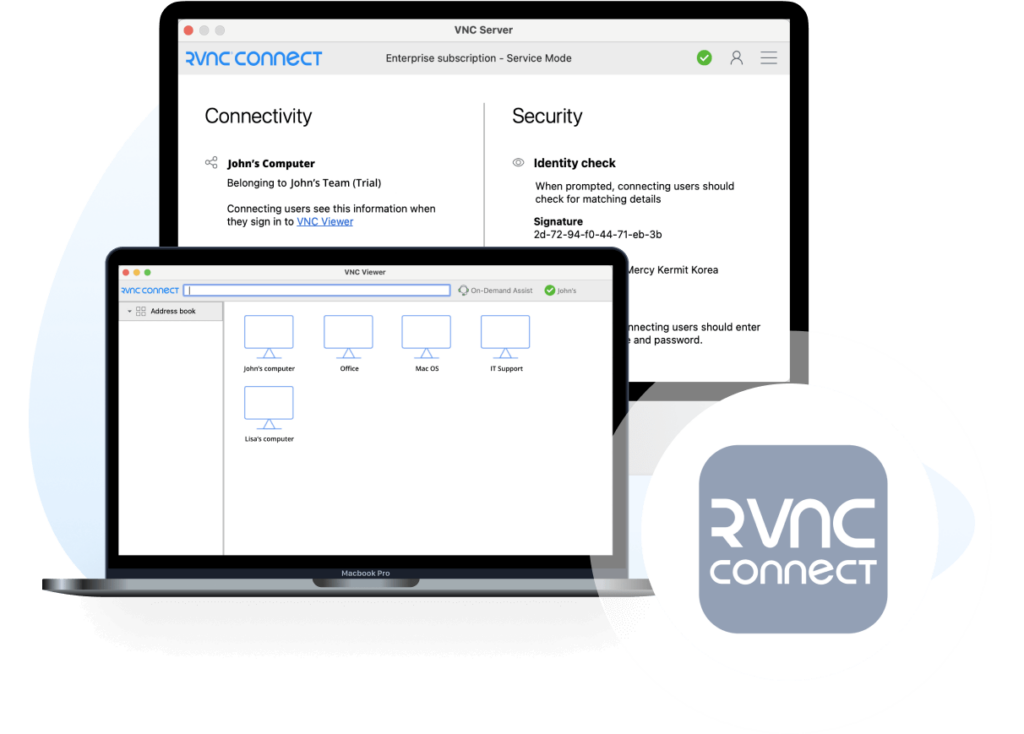
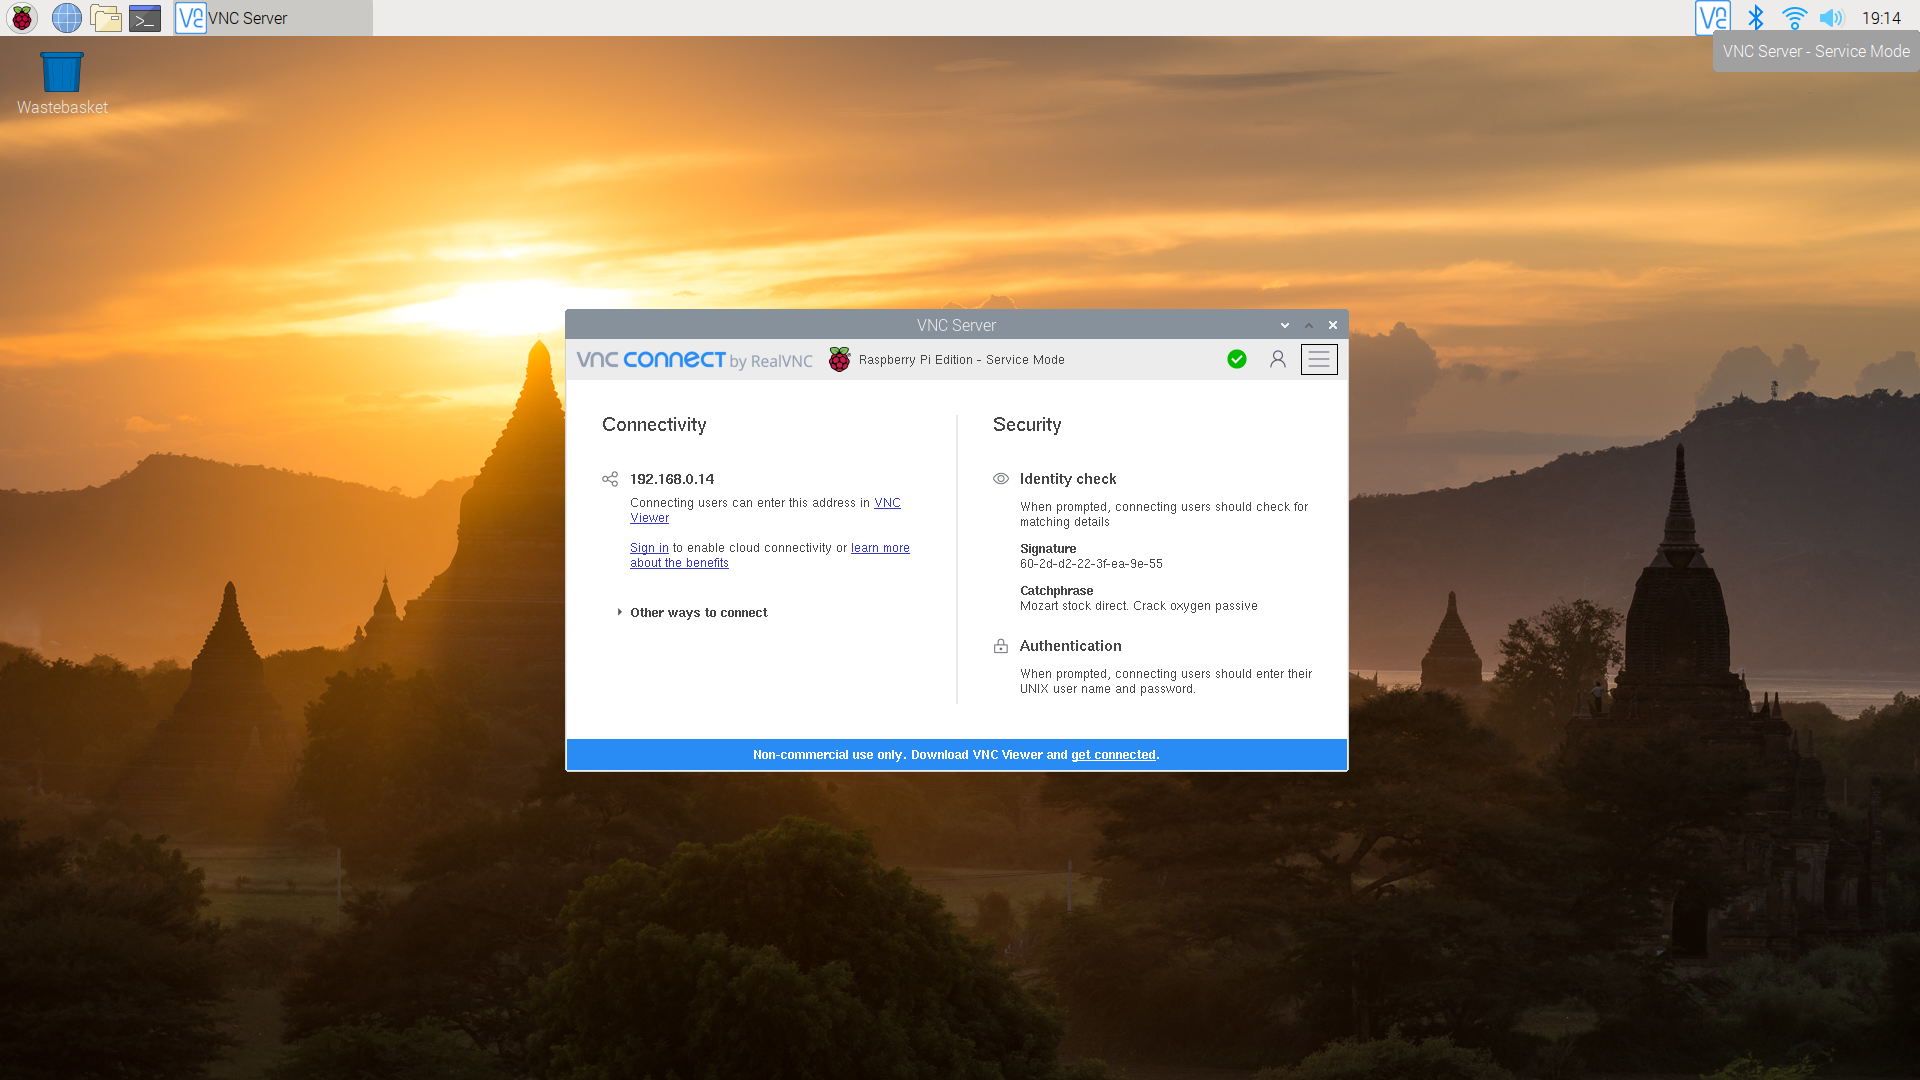
Step 1: Install VNC Server on Your Raspberry Pi
The first step is to install the VNC server software on your Raspberry Pi. You can do this by opening the terminal and running the following command:
sudo apt-get update && sudo apt-get install realvnc-vnc-server realvnc-vnc-viewer
Read also:Remoteiot Platform Ssh Raspberry Pi Download Your Ultimate Guide To Secure Remote Access
Once the installation is complete, you'll need to enable the VNC server. You can do this by going to the Raspberry Pi Configuration menu and selecting the "Interfaces" tab. From there, enable VNC and save your changes.
Step 2: Configure VNC Settings
After enabling the VNC server, it's time to configure the settings to suit your needs. You can do this by running the following command in the terminal:
vncserver
This will prompt you to set a password for your VNC connection. Make sure to choose a strong password to ensure the security of your Pi IoT setup. You can also customize the resolution and other settings by editing the configuration file located at ~/.vnc/config.
Step 3: Connect to Your Pi Using a VNC Client
With the VNC server up and running on your Pi, it's time to connect to it using a VNC client. There are several VNC clients available for different platforms, including RealVNC Viewer, TightVNC, and UltraVNC. Simply download and install the client of your choice, enter your Pi's IP address, and you're good to go.
Troubleshooting Common Issues with Pi IoT VNC
As with any technology, you might encounter a few hiccups along the way. Here are some common issues and how to resolve them:
- Connection Refused: Make sure that the VNC server is running on your Pi and that the IP address you're using is correct.
- Password Authentication Failed: Double-check that you're entering the correct password and that it matches the one set during the VNC server configuration.
- Slow Performance: If you're experiencing sluggish performance, try reducing the screen resolution or enabling compression in the VNC settings.
Security Best Practices for Pi IoT VNC
While VNC is a powerful tool, it's important to prioritize security to protect your Pi IoT setup. Here are some best practices to keep in mind:
- Use strong, unique passwords for your VNC connections
- Enable encryption to secure your data during transmission
- Restrict access to your Pi's IP address using firewalls or network settings
- Regularly update your VNC software to patch any security vulnerabilities
Advanced Security Tips
For an extra layer of security, consider setting up SSH tunneling to encrypt your VNC connections. This involves forwarding the VNC traffic through an SSH connection, making it much harder for attackers to intercept your data. You can do this by running the following command on your client machine:
ssh -L 5900:localhost:5900 pi@your-pi-ip
Once the tunnel is established, you can connect to your Pi using the VNC client by entering localhost as the server address.
Applications of Pi IoT VNC in Real-World Scenarios
Now that you know how to set up and secure your Pi IoT VNC connection, let's explore some real-world applications where this technology shines:
- Home Automation: Control your smart home devices, such as lights, thermostats, and security systems, from anywhere in the world.
- Remote Monitoring: Keep an eye on environmental sensors, weather stations, or agricultural systems without needing to be physically present.
- Industrial IoT: Manage complex industrial setups, such as manufacturing lines or energy systems, with ease and precision.
Choosing the Right VNC Software for Your Needs
Not all VNC software is created equal. When choosing a VNC solution for your Pi IoT setup, consider factors such as performance, compatibility, and ease of use. Some popular options include:
- RealVNC: Official VNC solution for Raspberry Pi, known for its reliability and feature-rich interface.
- TightVNC: Lightweight and fast, ideal for low-power devices.
- UltraVNC: Offers advanced features like file transfer and audio redirection.
Comparing VNC Software Features
Here's a quick comparison of the key features offered by each VNC software:
| Software | Performance | Features | Compatibility |
|---|---|---|---|
| RealVNC | High | Encryption, file transfer, audio redirection | Raspberry Pi, Windows, macOS, Linux |
| TightVNC | Medium | Lightweight, fast | Windows, Linux |
| UltraVNC | High | Advanced features, plugin support | Windows |
Optimizing Your Pi IoT VNC Setup for Maximum Performance
To get the most out of your Pi IoT VNC setup, consider the following tips:
- Use a wired connection instead of Wi-Fi for better stability and speed
- Optimize your Pi's configuration for minimal resource usage
- Experiment with different VNC settings to find the perfect balance between performance and usability
Advanced Optimization Techniques
For those who want to take their Pi IoT VNC setup to the next level, here are some advanced optimization techniques:
- Enable hardware acceleration in the VNC settings for smoother graphics rendering
- Use a lightweight desktop environment, such as LXDE or XFCE, to reduce resource consumption
- Implement load balancing if you're managing multiple Pi devices
Conclusion: Take Control of Your IoT World with Pi IoT VNC Download
As we've seen, Pi IoT VNC download opens up a world of possibilities for managing and controlling your IoT devices remotely. From home automation to industrial applications, the versatility and power of VNC make it an indispensable tool for anyone working with Raspberry Pi IoT setups.
So, what are you waiting for? Dive in, experiment, and discover the full potential of your Pi IoT VNC setup. And don't forget to share your experiences and tips in the comments below. Who knows – you might just inspire someone else to take their IoT game to the next level!
Article Recommendations