Raspberry Pi P2P Setup: A Comprehensive Guide For Enthusiasts
Let’s dive straight into it, folks. The Raspberry Pi P2P setup is a game-changer for tech enthusiasts who want to create their own peer-to-peer network without breaking the bank. Imagine having your own private network where you can share files, stream content, or even host your own server—all powered by a tiny yet mighty device. If that sounds like something you’d want to explore, you’re in the right place.
Now, before we get too deep into the nitty-gritty, let me paint a picture for you. Picture this: you’ve got a bunch of devices at home, and you want them all to communicate with each other without relying on the internet or third-party servers. Enter Raspberry Pi, the little gadget that can handle all your networking needs. This setup isn’t just cool; it’s practical, cost-effective, and a fantastic way to level up your tech skills.
Whether you’re a seasoned techie or a newbie trying to dip your toes into the world of networking, this guide will walk you through everything you need to know about Raspberry Pi P2P setup. We’ll cover the basics, the hardware you’ll need, the software to install, and troubleshooting tips to keep your network running smoothly. So, buckle up and let’s get started!
Read also:Unlock The Power Of Ssh Remoteiot On Raspberry Pi Ndash Free Download Guide
Table of Contents
- What is Raspberry Pi P2P Setup?
- Hardware Requirements
- Software Setup
- Step-by-Step Guide
- Network Security Considerations
- Common Issues and How to Fix Them
- Real-World Use Cases
- Performance Tuning Tips
- Troubleshooting
- Conclusion
What is Raspberry Pi P2P Setup?
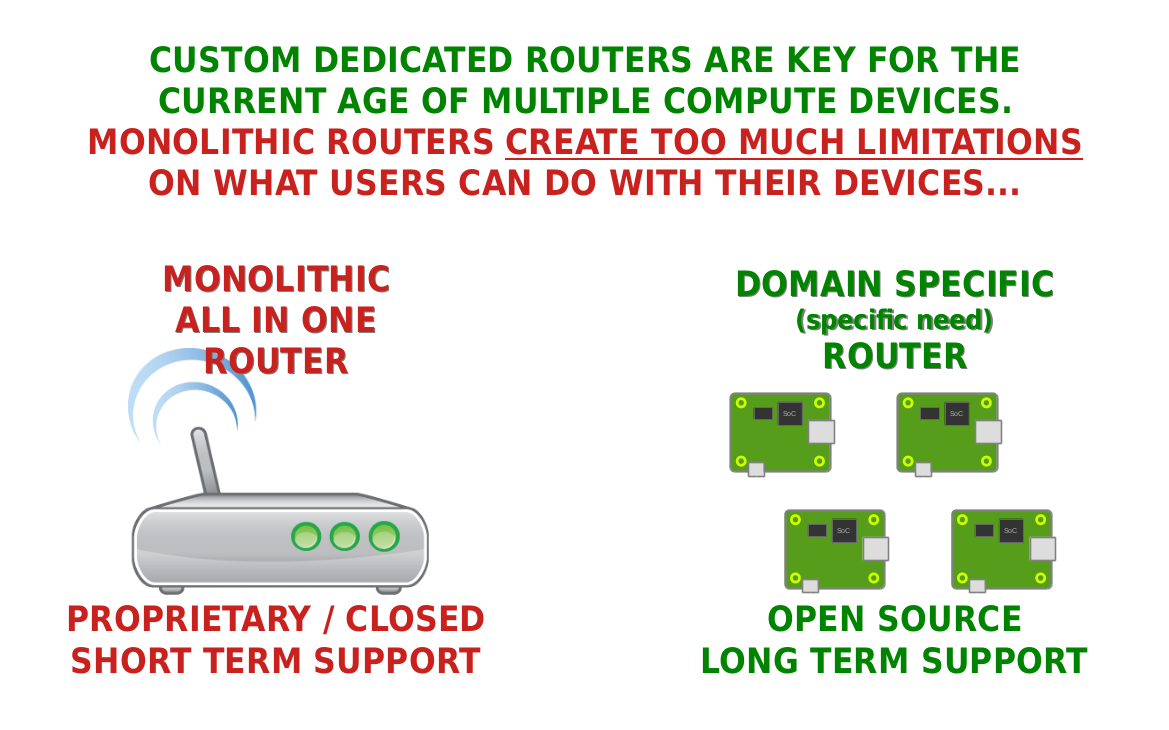
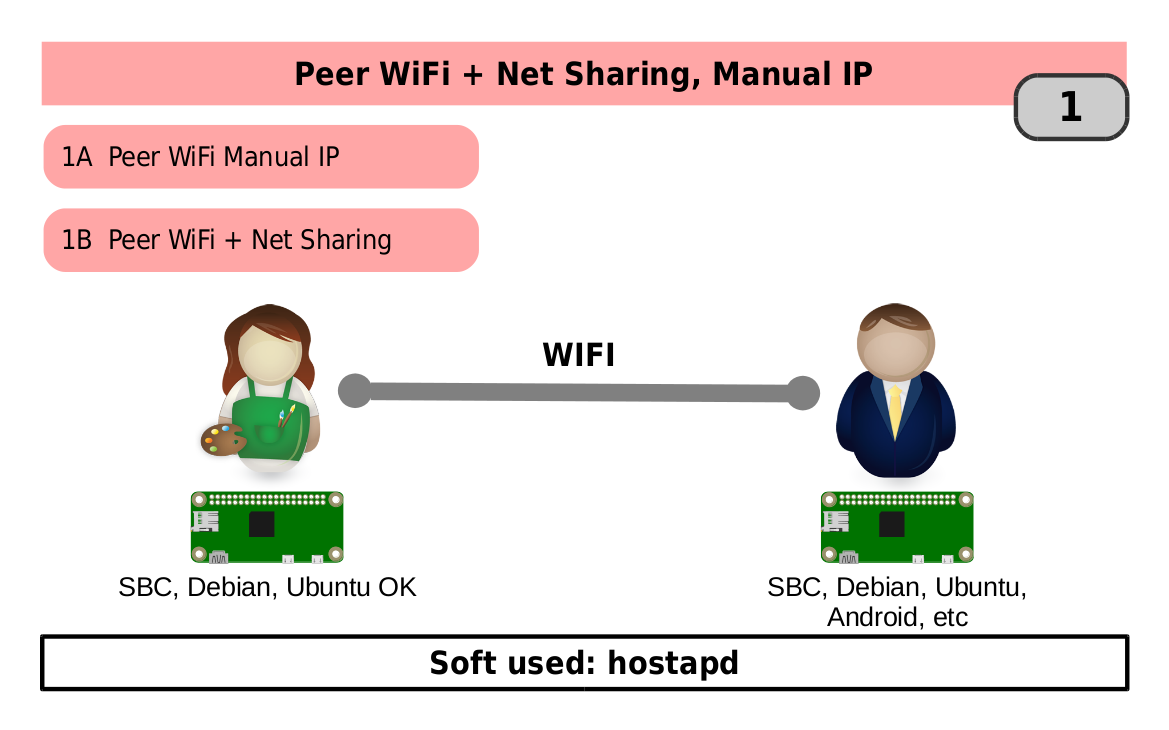
Alright, let’s break it down. Raspberry Pi P2P setup refers to configuring your Raspberry Pi device to act as a peer-to-peer node in a decentralized network. In simpler terms, it allows your Raspberry Pi to connect directly with other devices without needing a central server or internet connection. Think of it like setting up your own private network where data flows directly between devices, making it faster, more secure, and less prone to external interference.
This setup is perfect for anyone looking to create a local network for file sharing, media streaming, or even running applications that rely on P2P protocols. It’s also a great learning experience if you’re into networking and want to understand how decentralized systems work.
Why Choose Raspberry Pi for P2P Setup?
Here’s the deal: Raspberry Pi is affordable, energy-efficient, and ridiculously versatile. You can turn it into a mini-server, a media center, or even a P2P network hub with the right configuration. Plus, its community support is insane, so you’ll always find tons of resources to help you troubleshoot or upgrade your setup.
Some key advantages include:
- Low cost—Raspberry Pi models start at under $35.
- Compact size—perfect for DIY projects.
- Energy efficiency—uses minimal power, great for long-term use.
- Flexible—supports a wide range of operating systems and software.
Hardware Requirements
Now, let’s talk gear. To set up a Raspberry Pi P2P network, you’ll need a few essential components. Don’t worry; most of these are affordable and easy to find. Here’s what you’ll need:
Essential Components
- Raspberry Pi Board: Any model will work, but the Raspberry Pi 4 is recommended for better performance.
- MicroSD Card: At least 16GB, preferably 32GB or more for additional storage.
- Power Supply: A good-quality power adapter that matches your Pi model.
- Ethernet Cable: For wired connections (optional but recommended for stability).
- Wi-Fi Dongle: If your Pi model doesn’t have built-in Wi-Fi.
- Keyboard and Monitor: For initial setup, though you can switch to remote access later.
Software Setup
Once you’ve got your hardware sorted, it’s time to dive into the software side of things. The software you choose will depend on your specific use case, but here are some popular options:
Read also:Bert Kreischer Political Affiliation The Comedy Legendrsquos Stance On Politics
Operating Systems
For a P2P setup, you’ll want an operating system that supports networking and decentralization. Some popular choices include:
- Raspberry Pi OS: Lightweight and beginner-friendly.
- Ubuntu Server: Great for more advanced users who need robust server capabilities.
- Alpine Linux: Minimalist and secure, ideal for lightweight P2P applications.
Networking Tools
Here are some essential tools you’ll need for your P2P setup:
- WireGuard: A modern, secure VPN tunnel that works great for P2P networks.
- IPFS (InterPlanetary File System): Perfect for distributed file storage and sharing.
- BitTorrent: If you’re into classic P2P file sharing, this is a must-have.
Step-by-Step Guide
Alright, let’s walk through the process step by step. This guide assumes you’ve already installed your chosen OS on your Raspberry Pi.
Step 1: Configure Your Network
First things first, make sure your Raspberry Pi is connected to your local network. If you’re using Wi-Fi, configure it via the terminal:
sudo nano /etc/wpa_supplicant/wpa_supplicant.conf
Add your network details:
network={
ssid="YourSSID"
psk="YourPassword"
}
Step 2: Install Necessary Software
Next, install the tools you’ll need for your P2P setup. For example, to install WireGuard:
sudo apt update
sudo apt install wireguard
Step 3: Configure P2P Protocols
Now, configure your chosen P2P protocol. For IPFS, you can follow these steps:
curl https://dist.ipfs.io/go-ipfs/v0.12.0/go-ipfs_v0.12.0_linux-arm64.tar.gz | tar xz
sudo mv go-ipfs/ipfs /usr/local/bin/
ipfs init
Network Security Considerations
Security is crucial when setting up a P2P network. Here are some tips to keep your network safe:
- Use strong passwords for all accounts.
- Enable firewall rules to restrict unauthorized access.
- Regularly update your software to patch vulnerabilities.
- Consider encrypting your data using tools like GPG or OpenSSL.
Common Issues and How to Fix Them
Even the best-laid plans can hit a snag. Here are some common issues you might encounter and how to fix them:
Issue: Slow Network Performance
Solution: Check your Ethernet connection, ensure your Wi-Fi is stable, and optimize your software settings.
Issue: Connection Drops
Solution: Verify your power supply, update your firmware, and check for interference from other devices.
Real-World Use Cases
Here are some cool ways you can use your Raspberry Pi P2P setup:
- Private File Sharing: Share large files between devices without relying on cloud storage.
- Media Streaming: Set up a local media server for streaming movies and music.
- Decentralized Applications: Experiment with blockchain and distributed ledger technologies.
Performance Tuning Tips
Want to squeeze more performance out of your setup? Here are some tips:
- Use an SSD instead of a MicroSD card for faster read/write speeds.
- Optimize your software settings for better resource utilization.
- Consider overclocking your Raspberry Pi (but be careful not to overheat it).
Troubleshooting
Still stuck? Here are some troubleshooting tips:
- Check your logs for error messages: sudo journalctl -xe
- Reboot your Raspberry Pi to clear any temporary issues.
- Consult the official Raspberry Pi forums or community for additional help.
Conclusion
And there you have it, folks—a comprehensive guide to setting up a Raspberry Pi P2P network. Whether you’re building a private file-sharing system, experimenting with decentralized applications, or just learning the ropes of networking, this setup offers endless possibilities. Remember, security is key, so always take the necessary precautions to protect your network.
So, what are you waiting for? Grab your Raspberry Pi, follow the steps outlined in this guide, and start building your own P2P network today. And don’t forget to share your experience in the comments below or check out our other articles for more tech tips and tricks. Happy tinkering!
Article Recommendations